Table of Contents
- Introduction
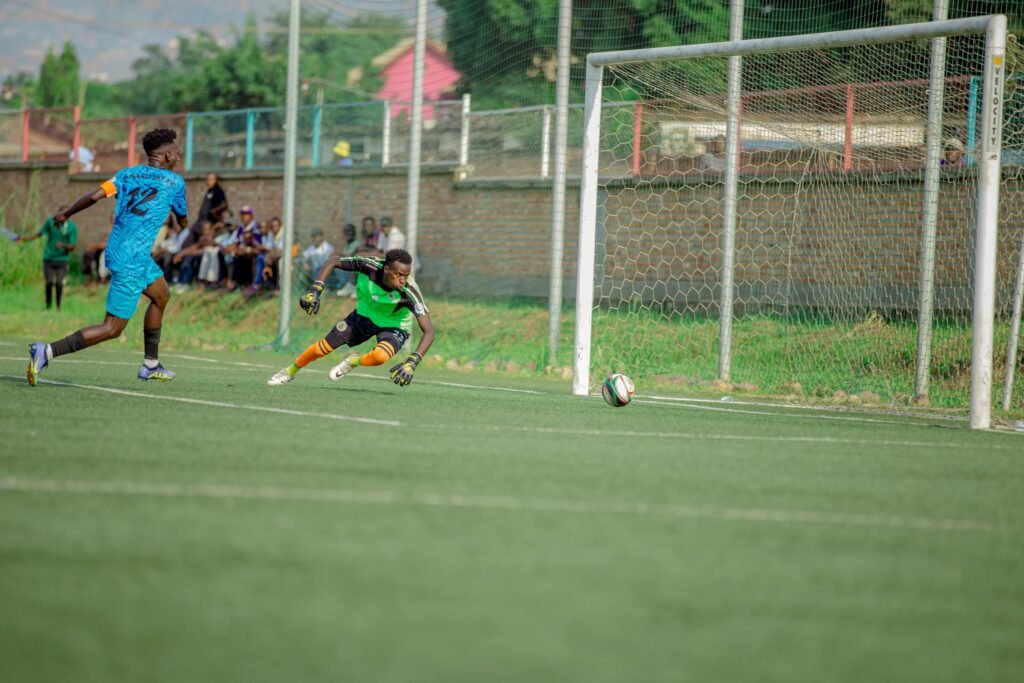
- Why Overwatch League Backline Pressure Matters
- Step-by-Step Guide to Mastering Backline Pressure
- Tips & Best Practices for Effective Backline Pressure
- Examples & Case Studies from the Overwatch League
- FAQs About Overwatch League Backline Pressure
- Conclusion
Introduction
Ever wondered why your team’s tanks seem useless when you’re up against a pro squad in the Overwatch League? Spoiler alert—it’s not just their aim. It’s how they crush your backline so hard that even Ana couldn’t heal through it. Welcome to the art of Overwatch League backline pressure!
In this guide, I’m spilling all the tea on mastering this game-changing tactic. We’ll dive into what backline pressure actually means (spoiler: it’s not just spamming Roadhog hooks), break down foolproof strategies, and share some cringe-worthy fails along the way. You’ll learn:
- The real reason pros dominate backlines.
- A step-by-step plan to nail this tactic yourself.
- Fails and anti-tips—because we’ve all been there.
Key Takeaways
- Backline pressure disrupts enemy healing and disables key supports like Mercy or Ana.
- Strategic hero selection and positioning are crucial for pulling off effective backline attacks.
- Don’t overcommit; bad timing can leave your own frontline exposed.
Why Overwatch League Backline Pressure Matters
“If you’re sitting comfy behind Reinhardt’s shield as Zenyatta, you might feel untouchable. But what happens when Sombra teleports into your spawn room? That whirrrr sound is your laptop fan—and your carefully laid plans melting faster than an ice wall.”
Let me tell you a story about my biggest fail: Once upon a time, during an open queue match, I decided to play Reaper because “why not”? Long story short, I dove straight into the backline without support, died five times in two minutes, and ended the match with zero eliminations but infinite shame.
The problem isn’t diving alone—it’s doing it poorly. The pros understand that backline pressure creates chaos behind enemy lines, forcing mistakes that lead to picks and objectives. Whether it’s Tracer flanking around or D.Va bombing healers, disrupting their support structure gives your team breathing room. No support = no sustain = GG EZ.
Step-by-Step Guide to Mastering Overwatch League Backline Pressure
Step 1: Pick Your Poison
Optimist You: “Tracer’s mobility will shred their support!”
Grumpy You: “Ugh, fine—but only if you’re okay dying constantly until you get better.”
Not every hero works for backline pressure, so pick wisely:
- Sombra: EMP + hacks = instant panic.
- Hanzo: Sonic arrows can zone entire backlines.
- Genji: Good luck reflecting those ultimates.
Step 2: Timing Is Everything
“The difference between a clutch flank and throwing away your life? Half a second.” Coordinate your push with ultimates like Graviton Surge or Earthshatter. Always peek angles after cooldowns—not before.
Step 3: Stay Mobile
Unlike Reinhardt trying to chase Widowmaker, stay mobile and unpredictable. Use side paths, stealth mechanics (looking at you, Mei), and verticality to keep enemies guessing.
Tips & Best Practices for Effective Backline Pressure
- No Lone Wolf Plays: Communicate with your team via pings or voice chat.
- Know Enemy Cooldowns: Jumping in post-Ult surge = disaster.
- Prioritize Targets: Focus on soft targets like Zenyatta first.
- Be Patient: Wait for openings rather than rushing blindly.
Examples & Case Studies from the Overwatch League
Remember Shanghai Dragons’ epic reverse sweep against San Francisco Shock in 2021? It wasn’t just skill—it was flawless backline harassment by DPS players like LeeJaeGon on Widowmaker and Void on Genji.
On the flip side, Seoul Dynasty once lost a match due to poor communication—a single-player kept pushing recklessly, leaving his team vulnerable. Moral of the story: Teamwork > ego.
FAQs About Overwatch League Backline Pressure
Q: What exactly is backline pressure?
A: Backline pressure refers to attacking the opponent’s backline heroes (usually supports) using flanks, dives, or zoning abilities to create disarray.
Q: Which maps favor backline pressure tactics?
A: Maps with multiple entry points (e.g., King’s Row) or lots of vertical space (e.g., Ilios) make great opportunities for sneaky flanks.
Q: Can tanks apply backline pressure too?
A: Absolutely! Tanks like Winston or Orisa can dive deep into enemy territory if properly supported by damage dealers.
Conclusion
If there’s one thing you take away today, let it be this: Mastering Overwatch League backline pressure requires patience, strategy, and teamwork. No amount of spicy ultimates alone will save you from poor execution.
So grab your favorite flanker, ping your squad, and start practicing the art of controlled chaos. And hey—if things go south, remember: Even pros mess up sometimes. Just ask my Reaper mains out there. 😉
Final Thought: Like a Tamagotchi, your rank needs daily care. GLHF!
Backlines quake beneath your feet—
Victory awaits.