“Ever found yourself cornered in an Overwatch League match, wondering why your flanks always fail? You’re not alone.”
Flanking routes are the unsung heroes of competitive play. Yet, many gamers overlook their strategic importance when diving into the chaotic world of Overwatch League matches. Spoiler alert: mastering flanking route optimization could be your secret weapon for outsmarting opponents and dominating ranked games.
In this post, we’ll cover:
- Why flanking is more than just “running around the back”
- A step-by-step guide to optimizing your flanks
- Tips from top-tier Overwatch League pros
- Real-world examples that prove these strategies work (and where they don’t)
Table of Contents
- Key Takeaways
- The Problem with Poor Flanking Routes
- Step-by-Step Guide to Flanking Route Optimization
- Pro Tips for Effective Flanks
- Proven Success Stories
- FAQs About Flanking Strategies
- Conclusion
Key Takeaways
- Understanding map layouts unlocks hidden flanking opportunities.
- Communication is crucial—don’t go rogue!
- Timing matters more than speed; patience wins the game.
- Use verticality wisely—it’s a flanker’s best friend.
The Problem with Poor Flanking Routes
Picture this: it’s overtime on King’s Row. Your team’s Reinhardt charges forward boldly while you sneak through side paths as Tracer, trying to pick off healers. Suddenly, three enemy DPS ambush you from behind. What went wrong?
This happens ALL THE TIME because players fail to optimize their approach to flanking. Flanking isn’t about blindly sneaking past enemies or hoping no one sees you. It’s about:
- Map awareness: Knowing every chokepoint, shortcut, and hiding spot.
- Team synergy: Coordinating attacks instead of going solo Rambo-style.
- Enemy prediction: Anticipating how foes will react so you can strike at the perfect moment.
Pro Tip: If you’re consistently dying before even reaching your target, take a step back and ask yourself if you’ve planned your route effectively—or just winged it.

Image Caption: Understanding Overwatch maps is key to identifying viable flanking options.
—
Step-by-Step Guide to Flanking Route Optimization
So, how do you turn your chaotic flank attempts into calculated destruction? Follow these steps:
Step 1: Study the Map Layout
Optimist You:* “Maps are boring to analyze!”
Grumpy You: “Yeah, but you won’t survive a minute without knowing them.”*
Every Overwatch League map has intentional design elements meant to reward smart players. For example:
- Nepal Village has elevated walkways great for dive comps.
- Hollywood offers multiple side entrances ideal for stealthy Tracers or Sombra players.
Spend time reviewing minimaps during loading screens or practice modes to memorize major pathways and shortcuts.
Step 2: Communicate Your Plan
One of the biggest rookie mistakes? Going off alone without telling your teammates what you’re doing. Pro teams rarely execute successful flanks unless everyone knows who’s attacking which objective.
Hit up voice chat or pings to let your healer know you’re going dark for a bit. Simple phrases like “I’m looping left” can make all the difference.
Step 3: Time Your Move
Rushing into a flank too early leaves you vulnerable and isolated. Wait until pressure builds near objectives, then strike when enemies least expect it.
For instance, wait for the ultimate-heavy teamfight to erupt before sneaking up behind supports. Timing turns chaos into coordination.

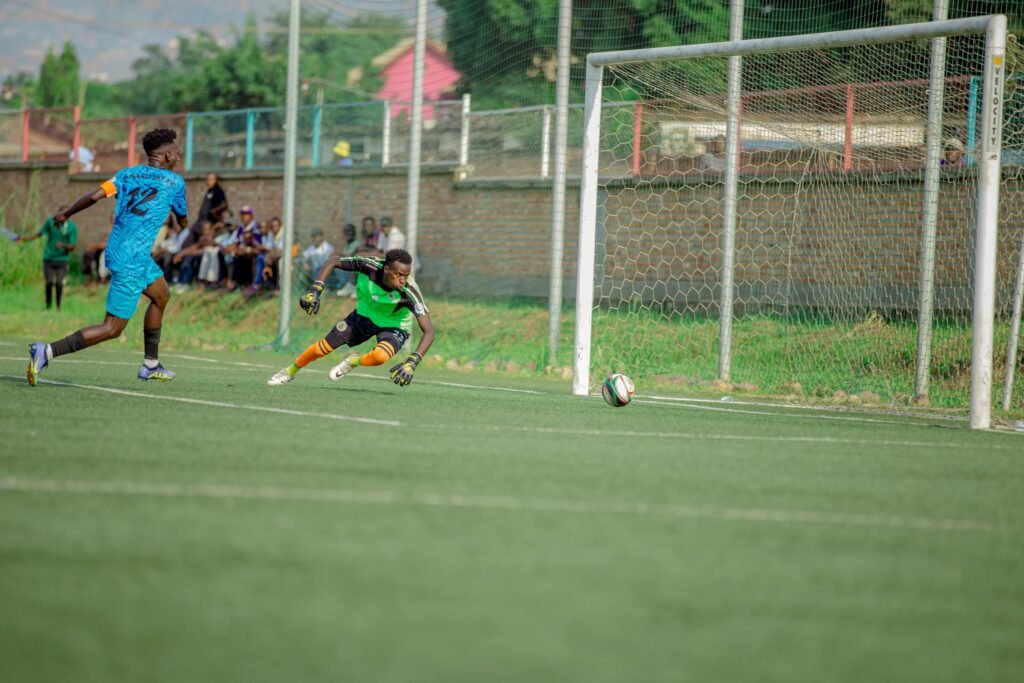
Image Caption: Timing your flank right ensures maximum impact.
—
Pro Tips for Effective Flanks
Here are some quick-fire tips to elevate your flanking game:
- **Pick Heroes Wisely:** Not every hero excels at flanking. Stick to mobility-focused characters like Genji, Sombra, or Wrecking Ball.
- **Leverage Vertical Space:** Overhead routes (e.g., rooftops) often catch enemies off-guard since most focus on ground-level threats.
- **Bait Enemies into Traps:** Fake retreats can lure overzealous opponents straight into your trap.
- **Avoid Obvious Paths:** The shortest route isn’t always the smartest. Enemies anticipate obvious shortcuts, so get creative.
Warning: Don’t rely solely on flanking. Sometimes, sticking with the main group contributes more to victory than showboating solo plays.
Proven Success Stories
Let’s talk about the Shanghai Dragons’ stunning comeback against the San Francisco Shock during Season 4 of the Overwatch League. Their aggressive flanking strategy—anchored by flex tank play—completely dismantled the Shock’s defensive setups.
Shanghai coordinated several unexpected rear-line ambushes using alternate routes typically ignored by other teams. This threw San Francisco off balance and paved the way for one of the season’s most memorable upsets.

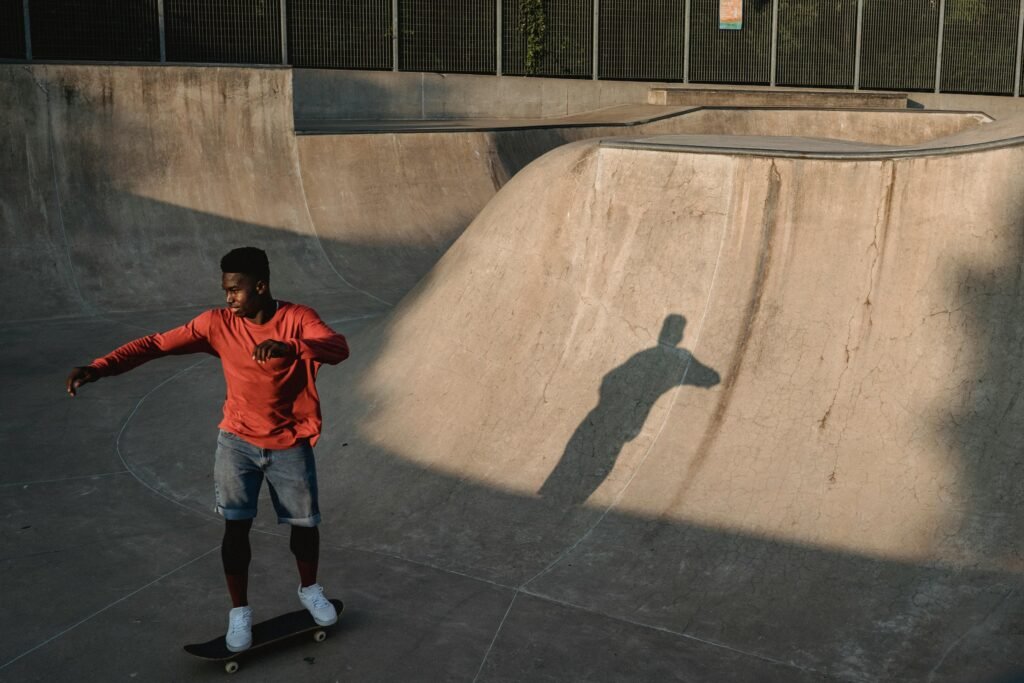
Image Caption: Moments like this define why teamwork + timing = success in Overwatch League.
—
FAQs About Flanking Strategies
Q: Can I successfully flank on non-mobile heroes?
Absolutely, though it’s harder. Tanks like Roadhog or Orisa can still contribute via split pushes—not traditional flanks—but similar principles apply.
Q: How important is communication in flanking?
Super important. Without clear comms, your flank risks being stranded or clashing unintentionally with teammates.
Q: Is there ever a bad time to flank?
Yes! Avoid flanking during critical ult combo setups unless it’s part of the overall strategy.
—
Conclusion
If there’s one lesson here, it’s this: flanking route optimization separates decent players from unstoppable ones in the Overwatch League. By studying maps, communicating clearly, and perfecting your timing, you’ll transform flubs into flawless executions.
Remember, mastery doesn’t come overnight. Keep experimenting, learning from failures, and embracing the grind. Because let’s face it—you didn’t download Overwatch to sit idle.
Chef’s kiss for commitment,
*P.S. Like finding Easter eggs in retro games, remember that small tweaks lead to big rewards.* 🎮✨
—